Minikube on Docker Desktop
Published at 20 February 2019
(This post is also on the SAP Community blogs)
Nabheet Madan has released a great blog series about using UI5 with Kubernetes (1,2,3), using Minikube. I’ve been tinkering with containers, and run docker on my home server. I’ve also been trying to get into Kubernetes, but have hit some hurdles every time. When Minikube came to my attention, I decided to try again.
As a Mac user, I tried to install it via Homebrew, but hit some issues. But coincidentally I listened to the Minikube episode of the Kubernetes Podcast, where they mentioned that you can run Minikube through Docker Desktop. I run Docker Desktop on all my machines. Perfect! This is how you do it.
Enable Kubernetes on Docker Desktop
If you don’t have Docker Desktop installed, you can get it on Docker Hub. It’s available for both Windows and macOS.
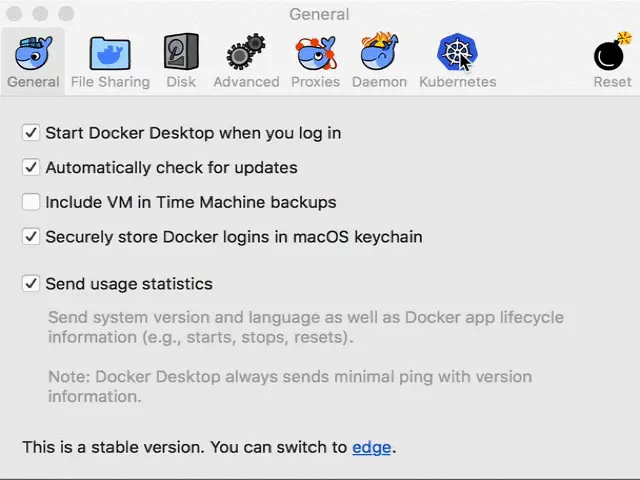
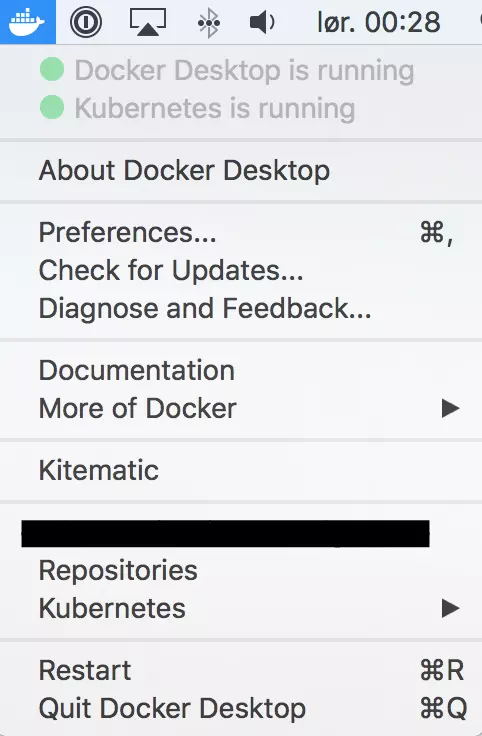
When it’s installed, you get a little docker icon in your taskbar. Click it, and open Preferences. Navigate to the ‘Kubernetes’ tab, and check the ‘Enable Kubernetes’ checkbox.

If it’s the first time Kubernetes is enabled, Docker Desktop will download the Kubernetes cluster and install it, before the green light turns on.

And there you go. Minikube is running through Docker Desktop. Now you can use kubectl in your favourite terminal emulator as usual. Use it to verify the installation:
SHELL$ kubectl version
If you are using Kubernetes with another environment, you can check which one kubectl is working with:
SHELL$ kubectl config current-context
If needed, you can change the context to your docker instance:
SHELL$ kubectl config use-context docker-for-desktop
Bonus mission: Install Kubernetes Dashboard
If you want to, you can deploy Kubernetes Dashboard, a web-based Kubernetes user interface, to your Minikube. You can use Dashboard to deploy containerized applications to a Kubernetes cluster, troubleshoot your containerized application, and manage the cluster resources.
To deploy it, run the following command:
SHELL$ kubectl create -f https://raw.githubusercontent.com/kubernetes/dashboard/master/aio/deploy/recommended/kubernetes-dashboard.yaml
To access the dashboard, you need to forward a specific port. To do this, you have to get the pod name for the dashboard. The dashboard pod is in the kube-system namespace. To find it’s name, list the pods:
SHELL$ kubectl get pods --namespace=kube-system
You will get a result like:
SHELLNAME                                         READY     STATUS    RESTARTS   AGE
etcd-docker-for-desktop                      1/1       Running   0          2h
kube-apiserver-docker-for-desktop            1/1       Running   0          2h
kube-controller-manager-docker-for-desktop   1/1       Running   0          2h
kube-dns-86f4d74b45-dzrlw                    3/3       Running   0          2h
kube-proxy-7w5gn                             1/1       Running   0          2h
kube-scheduler-docker-for-desktop            1/1       Running   0          2h
kubernetes-dashboard-669f9bbd46-xlqfj        1/1       Running   1          1h
Verify that the pod is in a ‘Running’ state. It might take some time, so be patient. To forward the port, you need to copy the name of the dashboard pod, and use it in the command:
SHELL$ kubectl port-forward <dashboard pod name> 8443:8443 --namespace=kube-system
You can now open a browser, and navigate to https://localhost:8443.
Upon opening the Kubernetes Dashboard, we come to a sign in page.

There are ways to enable a ‘SKIP LOGIN’ button, but it’s also pretty easy to get the login TOKEN, to sign in properly. A quick Google search pointed med towards a Stack Overflow question, providing both explanation of why, and also a handy one-liner to extract the token.
SHELL$ kubectl -n kube-system describe secret $(kubectl -n kube-system get secret | awk '/^deployment-controller-token-/{print $1}') | awk '$1=="token:"{print $2}'
Copy the TOKEN from your terminal, paste it in the input field, and press ‘SIGN IN’. And et voilà! We’re in.

I really hope this has been useful. Good luck in your adventures with containers and Kubernetes. Now go to Naabhets blog posts, and get startet. :)