Exposing Immich over Tailscale with a companion container
Published at 7 March 2026
I already had Immich running on a Synology NAS, with the Tailscale package installed on the NAS itself. Accessing Immich meant hitting the NAS IP and port. It’s functional, but not great. I wanted a proper subdomain, HTTPS, and no port in the URL.
My idea was to run a Tailscale container alongside Immich, use ts serve to terminate HTTPS and proxy traffic, and not touch the existing Immich setup at all.
The Tailscale container
Create a new directory for the stack, e.g. /volume1/docker/IMMICH-TAILSCALE/, and create the sub-directories state and config. You should also prepare some files on your computer, that you will upload before running the stack.
Docker Compose file
compose.yaml:
YAMLname: immich-tailscale

services:
  immich-tailscale:
    container_name: immich-tailscale
    image: ghcr.io/tailscale/tailscale:latest
    hostname: immich
    environment:
      - TS_AUTHKEY=${TS_AUTHKEY}
      - TS_USERSPACE=true
      - TS_STATE_DIR=/var/lib/tailscale
      - TS_SERVE_CONFIG=/config/ts-serve.json
    volumes:
      - ./state:/var/lib/tailscale
      - ./config:/config
    networks:
      - immich_default
    restart: always

networks:
  immich_default:
    external: true
A few things worth explaining:
TS_USERSPACE=true runs Tailscale in userspace networking mode. This avoids needing /dev/net/tun to exist on the host, which it doesn’t on Synology DSM by default.
hostname: immich is what your node will be called in the Tailscale admin console, and what shows up in the URL.
immich_default is the Docker network that Compose automatically created for my Immich stack. By joining it as an external network, the Tailscale container can reach immich-server by name. Yours might be called something else. Check the immich-server container, and scroll down to the network information to confirm the name.
Auth key
You need a Tailscale auth key in a .env file next to your compose file. WARNING: It is extremely important that you keep this key secret. If someone get their hands on it, they have the key to your tailnet.
TS_AUTHKEY=tskey-auth-xxxxxA .env contains what’s called key-value pairs, where TS_AUTHKEY is the key, and tskey-auth-xxxxx is the value. This is a way to prevent hard coding configuration and secrets in the compose.yaml.
Generate a auth key at tailscale.com/admin/settings/keys. It is only visible at creation time, so remember to copy it before dismissing it.
When you start the stack, docker replace the ${TS_AUTHKEY} in compose.yaml with value from .env.
The ts serve config
ts-serve.json:
JSON{
  "TCP": {
    "443": {
      "HTTPS": true
    }
  },
  "Web": {
    "immich.your-tailnet.ts.net:443": {
      "Handlers": {
        "/": {
          "Proxy": "http://immich-server:2283"
        }
      }
    }
  }
}
Replace your-tailnet with your actual tailnet name. Tailscale handles the TLS cert automatically — no certbot, no manual renewal. HTTP requests get redirected to HTTPS.
Starting it up
Copy compose.yaml and .env to the root of the directory you created for the stack. ts-serve.json needs to be copied to the config directory.
Go into Container Managerand select Project -> Create. Give the project a fitting name.

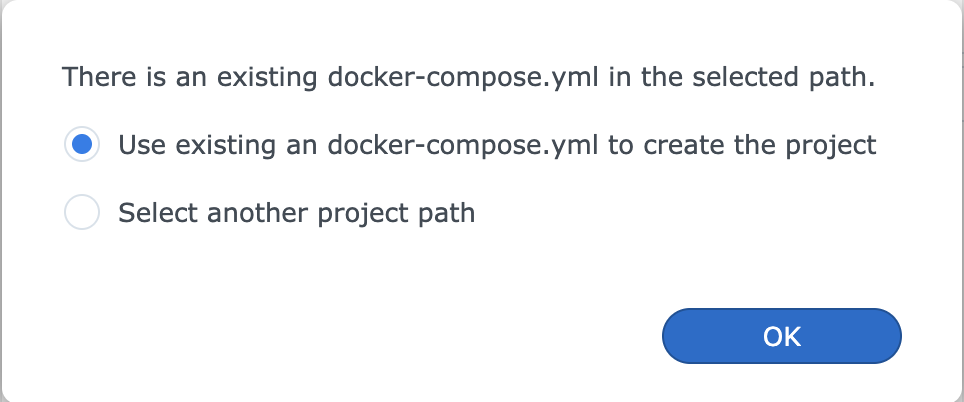
Press the button to select the directory you created. Since you copied over the files you created, you will get the question to use your existing compose.yaml. Agree to that.
You will see you compose.yaml in the text box. Just press next until you can save and build the stack.
If everything is working you’ll see it connect to the tailnet and apply the serve config. It should show up in your Tailscale admin console under the hostname you set, and you should be able to connect to it from the url you set in ts-serve.json. With HTTPS and no port. 🤓
What about Immich?
Nothing changes. Immich keeps running exactly as it was. The Tailscale container just joins its network and routes traffic to it. You can still access Immich on the local network via the port as before.
Another approach
A tighter approach would be to run Tailscale as a sidecar inside the Immich stack itself, using network_mode: service:tailscale to share the network stack directly. That works well if you’re setting everything up from scratch. But if you already have Immich running and don’t want to touch it, keeping Tailscale in its own stack and joining the existing network is the easier path.